
Since obtaining my own microscope, I have been fascinated by the beauty and detail you see when you look more closely at a specimen. So I was delighted when Aba (the Association of Botanical Artists) announced that their next exhibition would be focussing on magnification. My challenge was to depict a small part of a plant as a scientifically accurate magnified study.
I have hundreds of magnification photos in my camera roll – I take these by simply placing my phone camera over my microscope’s eyepiece – and so choosing my subject was quite difficult. However, I kept coming back to an image I had taken when studying the Common Knapweed during my diploma.
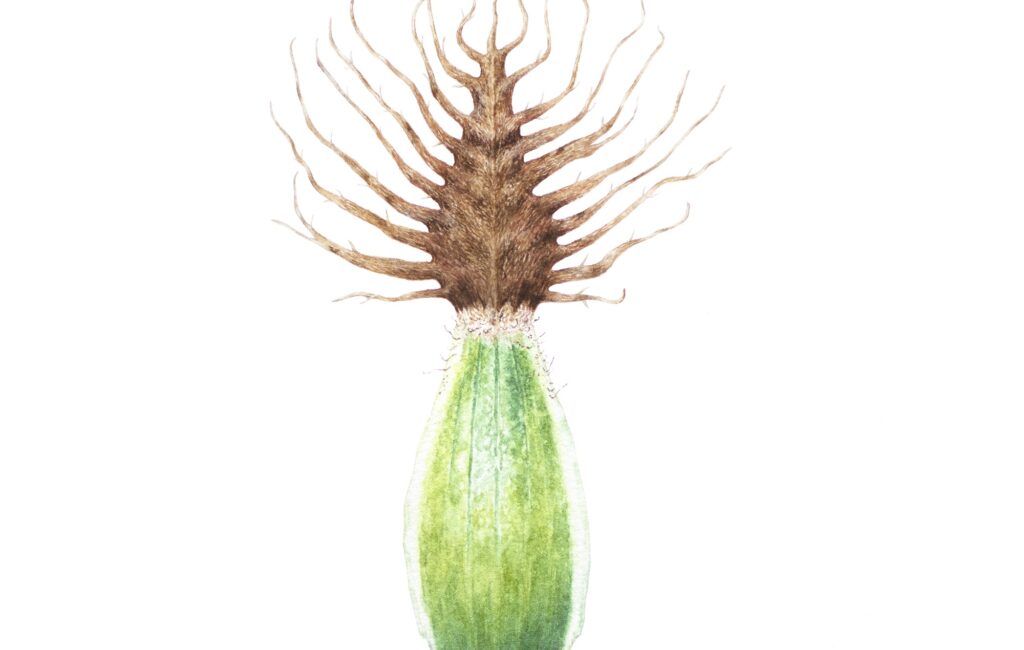
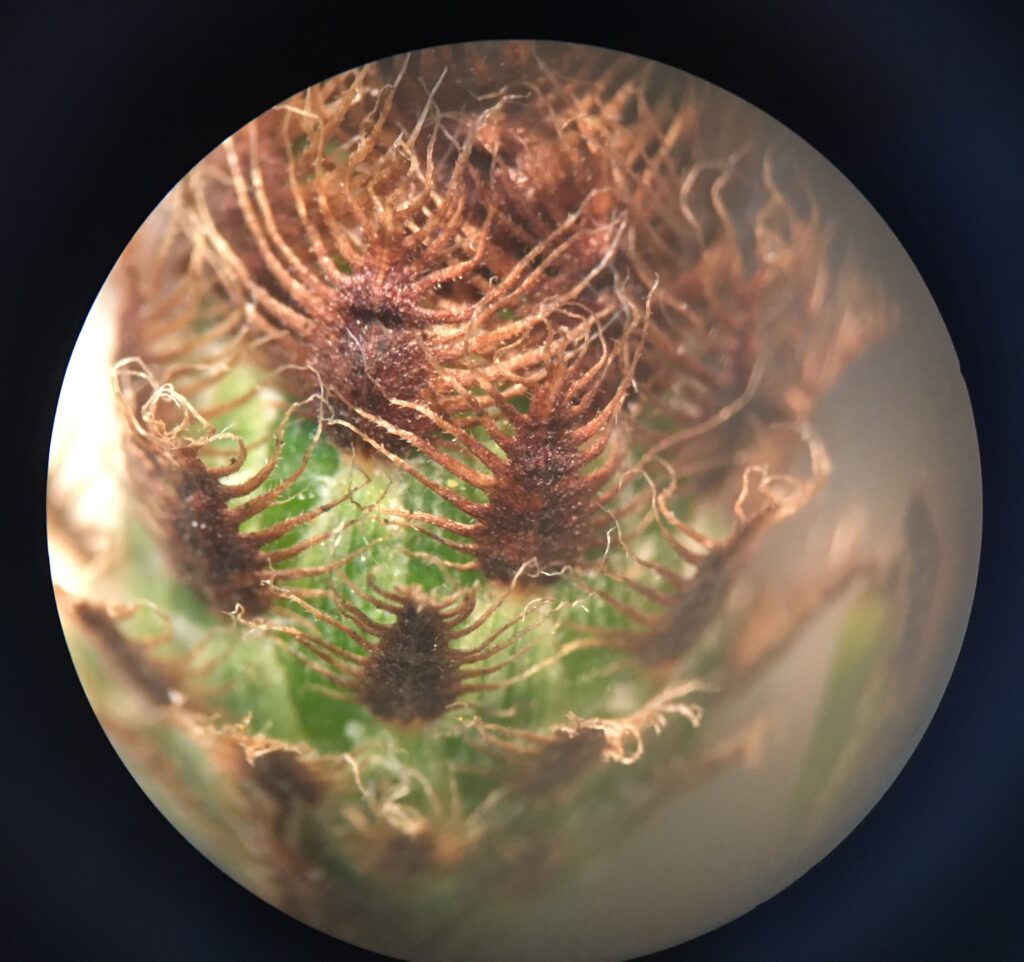
This plant has protective bracts that surround the bud initially and later form the neck of the flowerhead. Viewed individually, they look like a small insect (several people have suggested a tick!), and I felt that the image had some impact. Therefore, I chose to develop a study of this tiny part of the knapweed. To get started I obtained some more samples of the bracts and photographed these. I have also been able to keep them to refer to under the microscope whilst painting. The image of the bracts still on the plant was very useful for observing more detail in the colours of the toothed section.
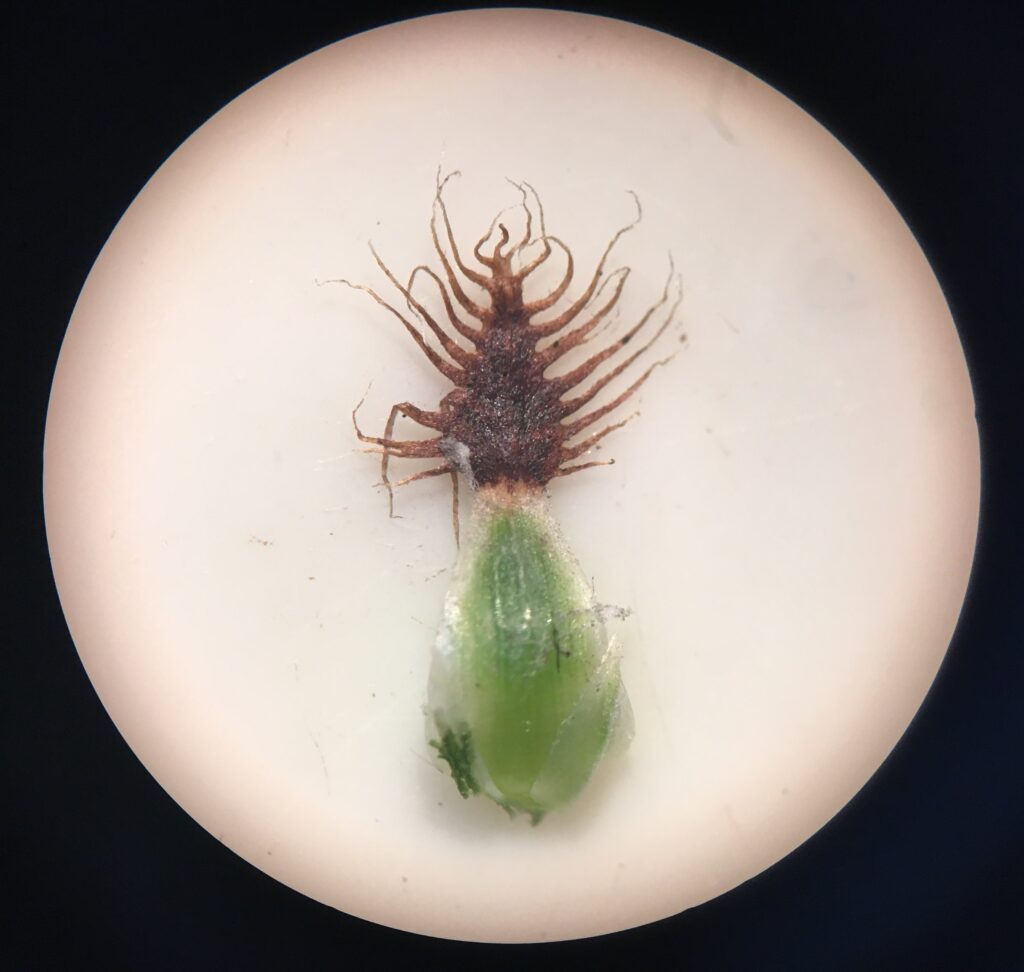

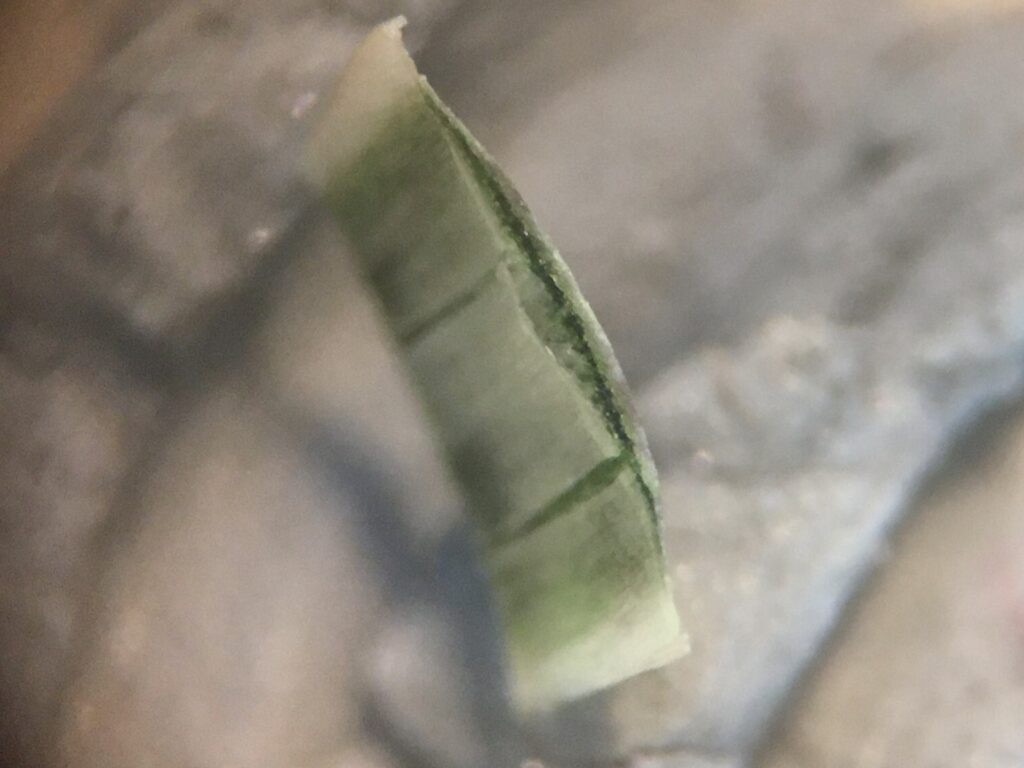
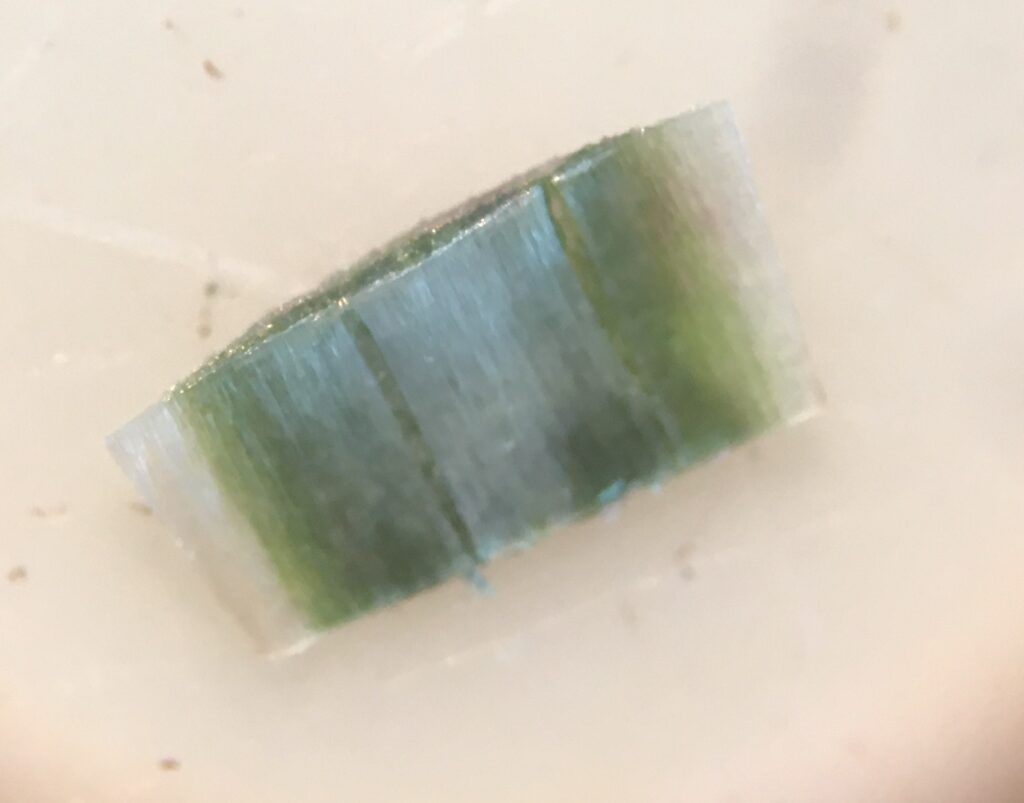
As I began to develop studies in my sketchbook, I noticed more and more detail in the bract. There were tiny hairs, particularly where the basal portion (green section) meets the apical portion (brown, toothed section). There was also a hair-like texture on the apical section of the bract. The basal portion had an almost translucent appearance. By cutting some tiny sections of the specimens I could see that there was a lighter layer over a deeper green section and that splits in this top layer formed the lines that were visible in the green surface.

In my first attempts at painting this, I tried out several techniques for both sections of the bract. I did not feel that this painting was successful, but it proved very useful for trying things out.
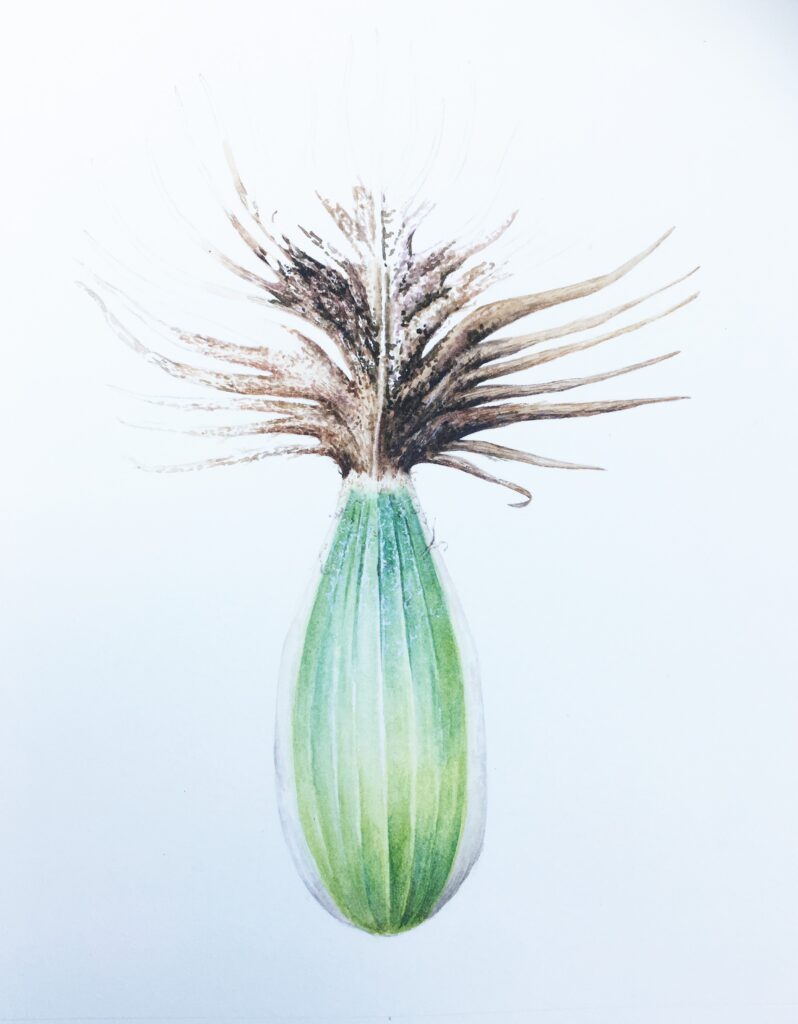
I used wet-in-wet with a surface layer of dry brush – the basal portion looked too solid and the lines were too strong in this version. I also experimented with adding white gouache for the hairs, but this is not a technique I’ve had much success with.

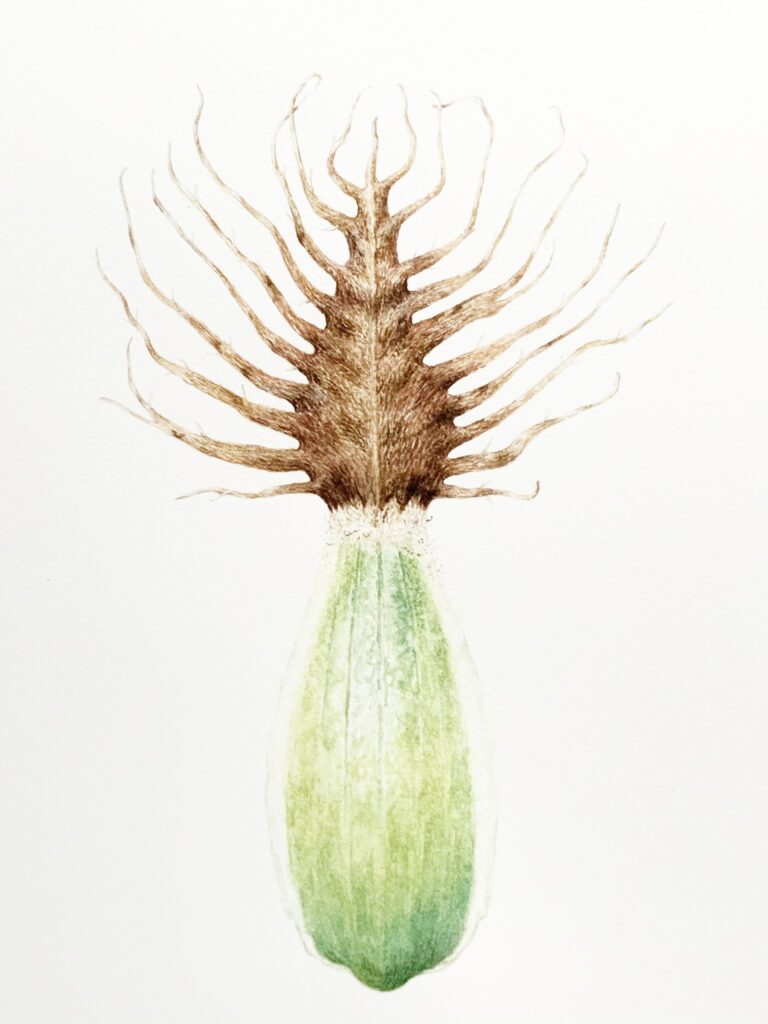
I worked on a second study of the basal portion, this time trying stippling combined with some wet-in-wet, and finished off with dry brush, This was more successful and gave me an approach.
For the apical section I tried washes with dry brush initially, and then moved to stippling. The stippling allowed me to capture the wide range of colours and tones, and also allow tiny areas of light to be shown
Having practised, I moved on to the final plate and began to build up a much more detailed, accurate version using the lessons learnt from my practice work.
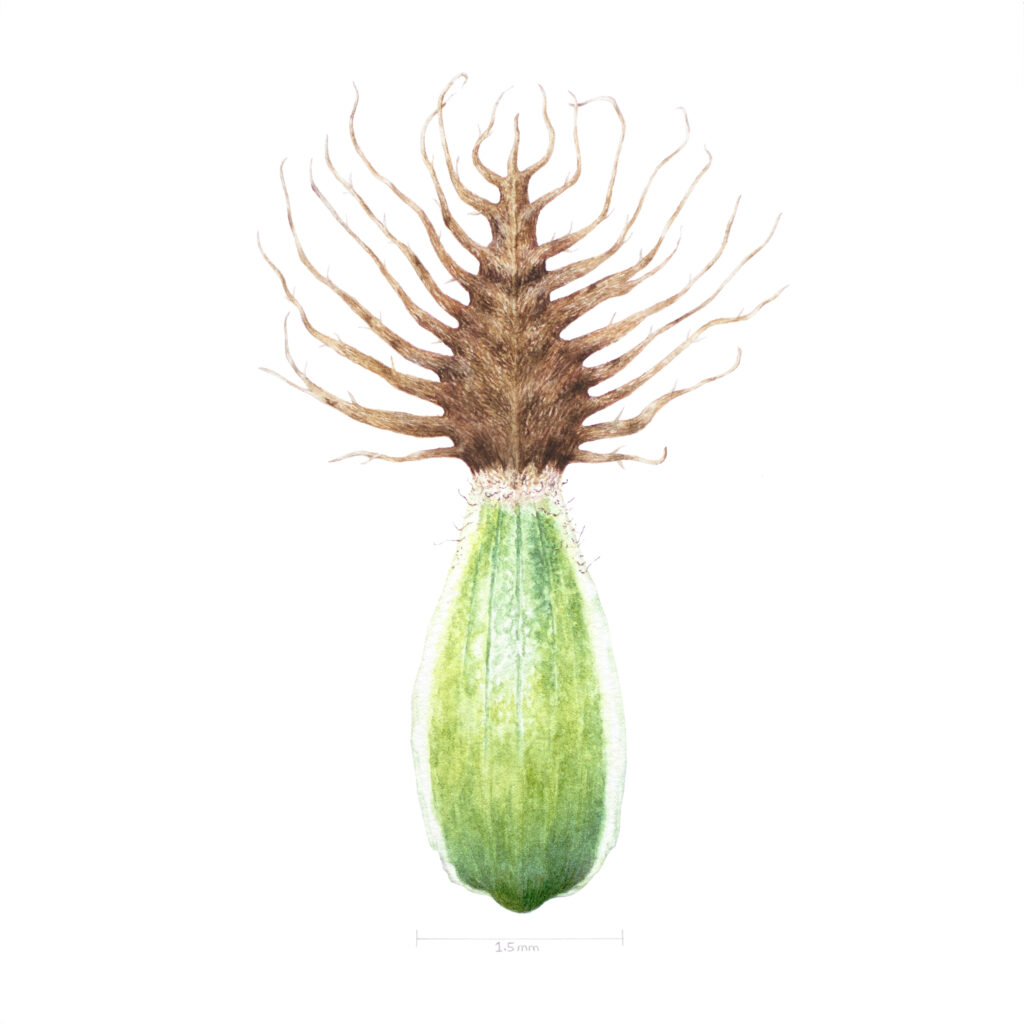
The final painting is shown here and is part of the ABA ‘Beauty in the Detail‘ exhibition.
This final illustration includes the scale bar to show the size of this tiny bract – just 1.5mm across the widest part of the basal section!
I’m now thinking about making this part of a series – I like the idea of illustrating small parts of plants which you would not immediately recognise … more to follow!